Part of the Brassica family, the rutabaga, also known as swede, is relatively easy to grow.
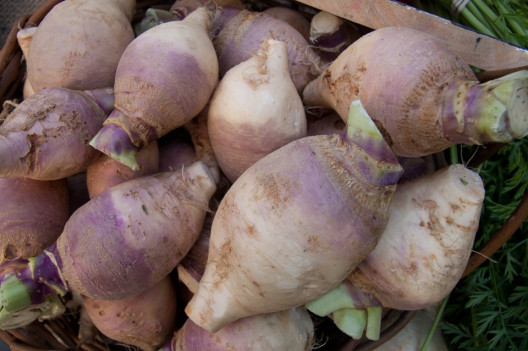
Rutabagas are probably a mix of turnips and wild cabbage [1]. They are bigger, rounder, and denser than turnips. Their skin is yellowish-purple, and the flesh is yellow.
The most common variety of this root vegetable is the purple top. Below is a basic guide to growing rutabagas at home.
Growing Rutabaga (Swede)
You can grow from seeds or cuttings that you are about to throw away.
Grow from Seed
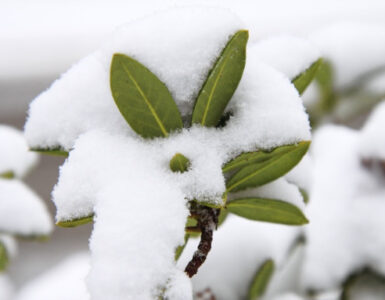
Rutabaga roots ripen and become more flavorful in cool weather.
Therefore, plant the seeds at the beginning or the middle of summer for a fall crop. It takes about 90 to 110 days from planting to reach maturity.
First, ensure that the selected site receives full sun and that the soil is well-drained.
Next, prepare the soil with organic fertilizer or composted manure. However, it is not advisable to add too much nitrogen initially; fertilize sparingly and apply the rest after the plants are thinned.
Plant the seeds 1/2 inch deep in the soil, spaced 1/2 inch apart. Also, space rows at least two feet apart. This allows for easy thinning out, weeding, and harvesting.
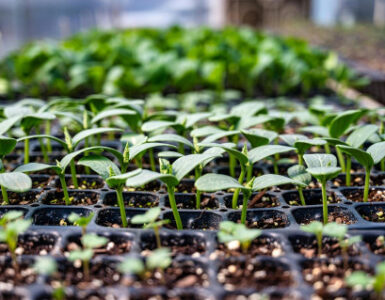
Once the plants begin to sprout, thin them out to approximately 8 inches apart. Never crowd them, as the roots will fight to thrive.
How to Grow Rutabaga from Scraps
To regrow from scraps, cut off the top section. Next, place the rutabaga top in an inch of water until roots start to appear.
Once this happens, please remove it from the water and place it in a pot filled with a rich, loose potting mix. As it grows larger, transplant it from the pot into the ground.
Pests
Many insects attack rutabagas; among them are:
- Flea beetles
- Caterpillars
- Cabbage aphids
- Cutworms
- Root-knot nematode
- Wireworms
- Root maggots
All of these pests require an insecticide (preferably a natural one) to control and eliminate them.
Additionally, floating row covers placed above the rows for the first few weeks can help combat most pesky insects. You can also plant marigolds throughout your rutabaga patch to keep aphids away.
Diseases
Clubroot is a disease that primarily occurs in cool, poorly drained soils. Moreover, the spores can survive in the soil for 20 years [2].
Clubroot can stunt plant growth and cause irregularly shaped, swollen roots. Therefore, avoid planting swede in soil where clubroot has been previously detected.
Some other diseases to look out for include:
- White spot
- Anthracnose
- Leaf spot
- White rust
- Downy mildew
To prevent disease problems, practice crop rotation.
Care and Maintenance
A few weeks after planting the seeds, add compost or fertilizer, and then again after thinning out the seedlings.
Also, water generously, giving at least 1 inch of water per week. Control weeds manually or use the method that works best for you.
Harvesting
As mentioned, you can harvest 90 to 110 days after planting the seeds. The rutabaga is a cool-weather crop, so it’s best to leave it until the first frost has passed, but not when it’s in danger of freezing.
You will know when rutabaga is ripe once the roots are 3 to 5 inches in diameter. Also, they will have purple-tinged skin and yellow flesh.
Rutabagas will be tender when harvested. Both the young, tender leaves and the roots are edible. Cut the foliage close to the crown and wash the roots.
After washing, dry properly and store rutabaga roots in a cool, dry place.
Takeaway
Swede is a versatile vegetable. It is relatively easy to grow and makes a great addition to a small organic home garden.


Add comment